Knowing that this blog will serve somewhat as an archive of the relics of today,I will not invest much in it so anything from my horrible English to poor formatting will go as crude as it can be (as of now).
Alright. Let's begin!
Today,I'm going to show you probably the simplest of proper modding to a springer. That is,of course,the spring upgrade.
This tier of upgrade is on par or just below a tier of a modification such as the classical 'Brass Breech' depending on what blaster it is. Anyway, for a spring upgrade for today,I am going to use the Ret previously displayed last tutorial.

I say again,I trust that once you are here,you are a modder with sufficient tools. Or at least,have proper tools for the occasion.
Step #1
Open up your shell.I guess that now I'm using the Ret,you should be familiar with it.

Lest you are lost,here are the hidden screws you need to be cautious of when handling a stock Ret or a Ret with a grip such as the picture given above or similar.
Also,note that in the picture I have taken out the buttstock adapter so please take that out first.

Upon opening,look up closely on this section of the blaster.That shall be the area you shall be working on this tutorial.
Step #2

Here's a comparison on what an upgrade spring(top)
and the stock spring(bottom) should look like. For this tutorial,I would be using an 8kg spring from Zinv.It has been modified by my dealer who I bought this from to have flat ends;it was filed down.
Now,as easy as it seems...
You have to do a bit of work to get it to properly function.
Firstly,you need to upgrade the catch spring.

This is what you should be getting if it is unmodified.Now our task here is to beef this up.


Long thin spring = black pen
Short fat spring = blue Pilot G2 pen
These are the springs I usually use when handling a light springload. These springs can be obtained from everyday items such as pens. As a modder and a student,I ensured that once I'm out of ink,I would extract the spring of the pen before discarding it.
Usually,depending on where you buy your springs from.Method of installation might slightly differ due to the orientation and size of the specific spring you're using.Please mod accordingly of which your spring would rest and compress to the best fitting possible.
I advice you to use a catch spring given alongside your main spring if you happen to purchase a spring from a seller. But in a scenario such as this where you weren't given a catch spring, pens would do.

Now place the new catch spring (or if you are using 2 springs with different diameters,place both spring in where you have an inner and outer catch spring) on the slot of where you took out the old catch spring. If you are using pen springs, please do cut accordingly to the size of the old catch spring or maybe a coil taller from the former spring.

Once done,I advice you to glue it into place. Wait for it to dry.
(optional)
Step #3
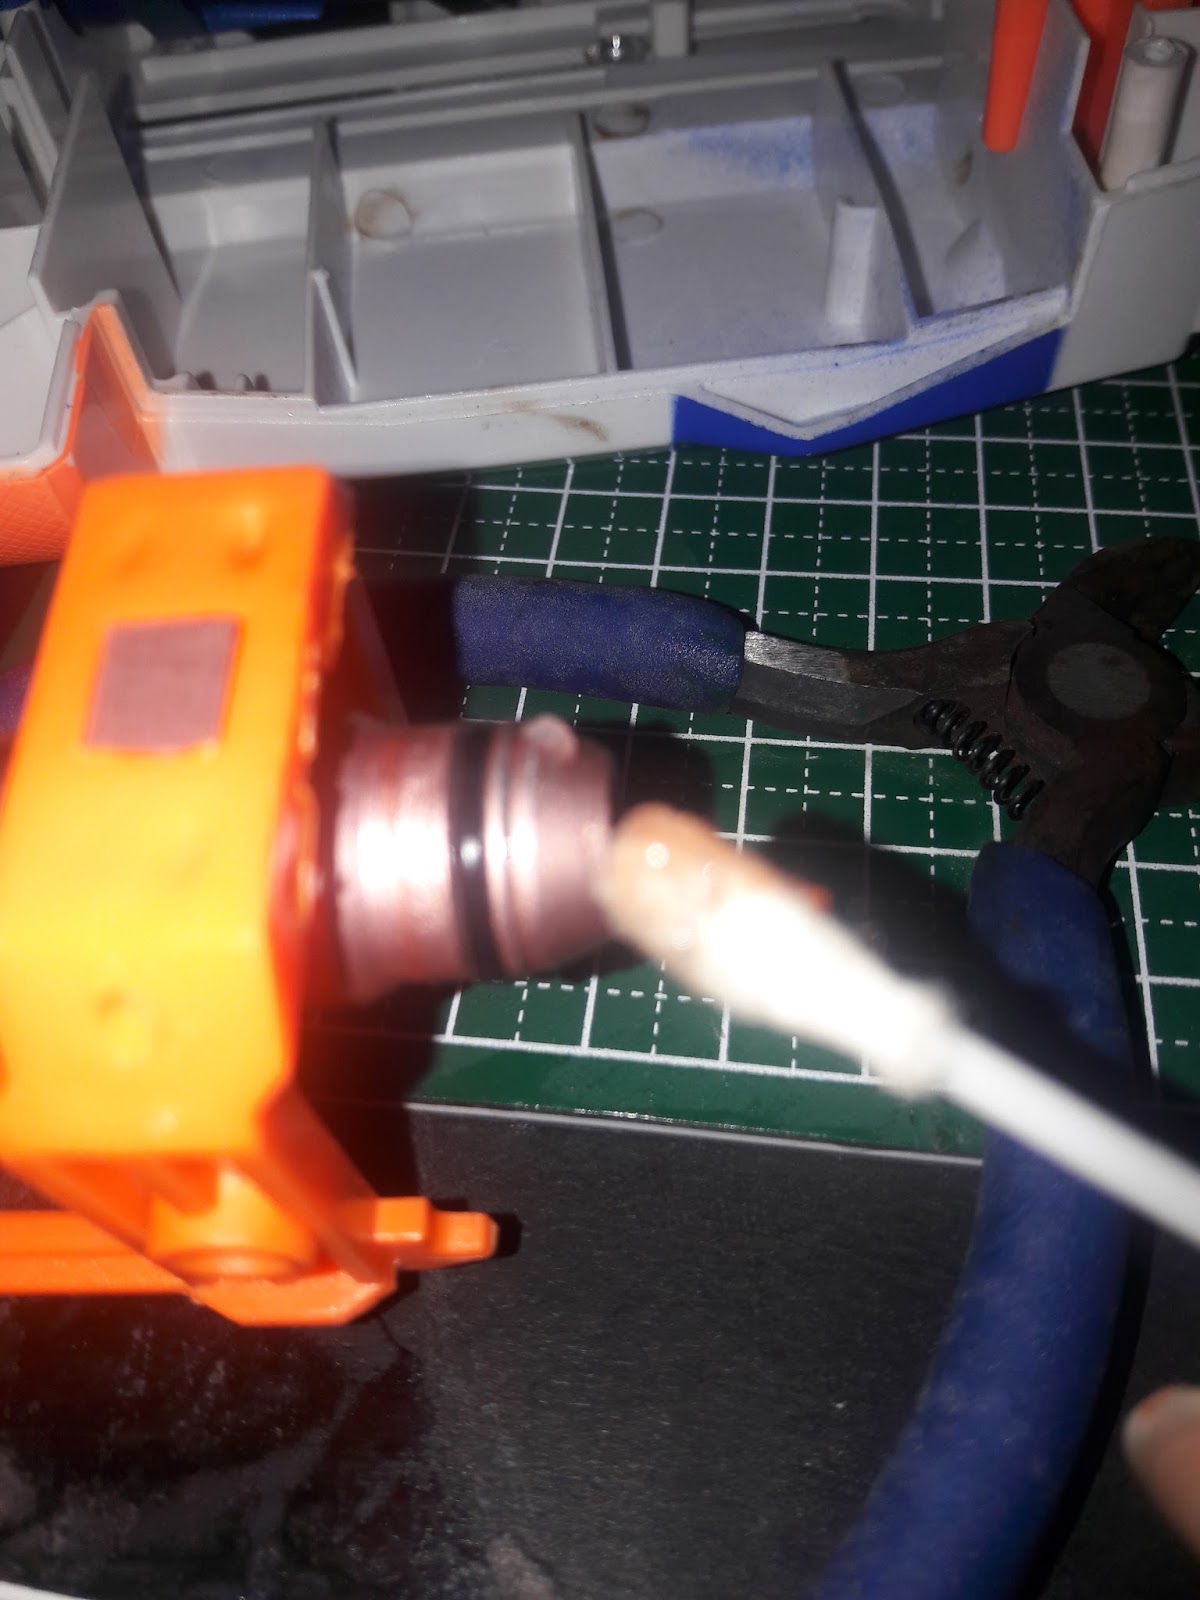
In the meantime,while waiting for the glue to dry on your catch,do your maintenance since you opened the shell up.
When becoming a modder,one thing that is misunderstood by the public is once modded,it is invincible.But most cases,this is not the case.If you have the decency to open up the shell to mod,you have to maintain it. So please, do a routinely maintenance on your blaster accordingly. For the Ret,I would be lubricating the o-rings and the parts of the blaster where it involves movement or friction.
Now that you are using an upgrade spring,I suggest taking out the boltsled lock (optional) as you would be able to deprime the blaster when chambering nothing or to prevent a dry fire which ultimately and eventually worsen the performance overall BUT you would still face this problem of ware-and-tear on the field or shooting foam darts.
Moral of the story is,make each shot count!

Step #4

Now that you have done the following,put back your internals,slot in the new spring.

Depending on the spring,you might want to do a slight shell work,so take a file and open up the hole a bit. Sometimes,you don't even need to do this if your spring can perfectly sit inside. (skip when necessary)

I assume at this point your catch spring should dry up by now so place your internals to where it belonged and close up the shell.
Step #5

Now,like I said,your spring may vary.If your spring is slightly longer,close the shell while leaving a coil and a half sticking out.Once tightened,push in the spring entirely. (skip when necessary)
Please be careful when modding.You may cut yourself. I almost did with this part with the filed end of the spring.
In the end,I had to open up the shell again and slowly force the spring sitting inside the shell entirely .
Otherwise,put back the stock adapter and you're good to go.

Now marks the end of the tutorial. Have fun!
No comments:
Post a Comment